


RandoCartes — manual
Welcome to RandoCartes. It’s an application for helping you to navigate when out walking or hiking
Contents
Getting started
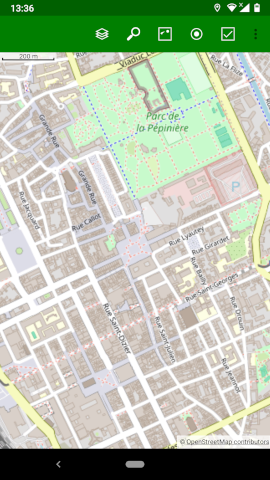
When you run RandoCartes (and as long as you have an internet connection) you will see a map of Nancy in France. This is the default startup location.
Of course, this is probably not the place you want to see on the map. You can use pinch gestures to change the zoom level of the map and swipe gestures to move the position of the map. If you have GPS activated you can press the icon to move the map directly to your current position. If it doesn’t work straight away, wait until the GPS has a fix.
If you want a different map base (the default is OpenStreetMap), press the icon. It will give you a list of map services to choose from and you can select the one you want.
Initially the ThunderForest service is not available. To use it you must go into the menu (three dots) and choose the ‘Service settings’ option. Under the appropriate service you will find instructions for obtaining a key from the provider to use the service.
The map
For details of how you can interact with the map see the section “The map”.
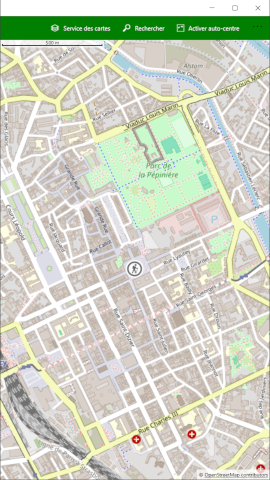
Icon bar
The horizontal row of icons gives you access to functions that control how the map is displayed.
Map service — This icon allows you to choose the map service to use for displaying maps. When you click here you will see the list available. You can control which services appear here by using the ‘Service settings’ menu.
Search — This icon allows you to find a place by its name.
Enable auto-centre — This icon shows that the current position is allowed to be moved as you wish. If you click on it you set the auto-centring mode where your current position will always stay in the centre of the screen. This is useful if you are moving and don’t want to keep shifting the position of the map to see where you are.
Disable auto-centre — This icon shows that the current position will always be kept in the centre of the screen. (You can move it but it will always come back when a new position update is received from the GPS.) If you click on the icon you disable the auto-centring mode and you will be free to move the map as you desire.
Move map to current location — When you press on this button the map will be moved so that your current position is at its centre. If GPS is not active, or not available, no action will be taken.
Hide annotations — This icon indicates that annotations are visible on the map. When you press it, your current position, as well as any tracks currently displayed, will be hidden. This allows you to see the details on the map that they may have been hiding.
Show annotations — This icon indicates that annotations are not currently visible on the map. When you press it, your current position and the tracks that were previously hidden, will be redisplayed.
Menu
By selecting the menu (three dots) you obtain access to these other functions.
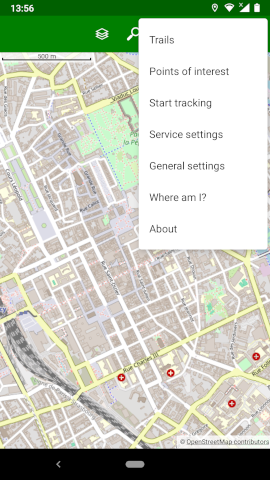
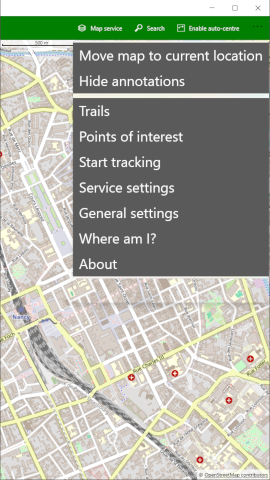
Trails — pressing this button takes you to the trails management screen where you can import and export trails as GPX files and display them on the map.
Points of interest — pressing this button takes you to the management screen for points of interest where you can import, export and modify points of interest.
Start tracking and Stop tracking — these options are used to create a trail file by following your movements.
Service settings — choosing this option takes you to the services management screen where you can manage different options for service display.
General settings — choosing this option takes you to the settings screen where you can change some of the options for how the application is displayed.
About — this button displays details about the application and how to contact its author.